Livestreaming with the RØDECaster Pro
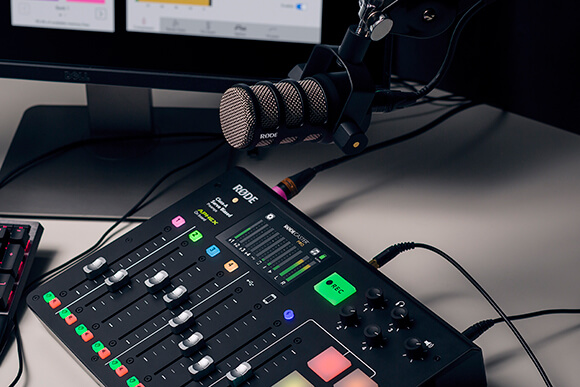
The RØDECaster Pro is an incredibly flexible audio interface that can be used for livestreaming as well as podcasting. If you’re a Twitch streamer who needs additional sound sources while streaming your gameplay, an IRL streamer who needs to connect multiple sources for a Facebook livestream, or even a podcaster who streams live on YouTube, the RØDECaster Pro is the perfect solution.
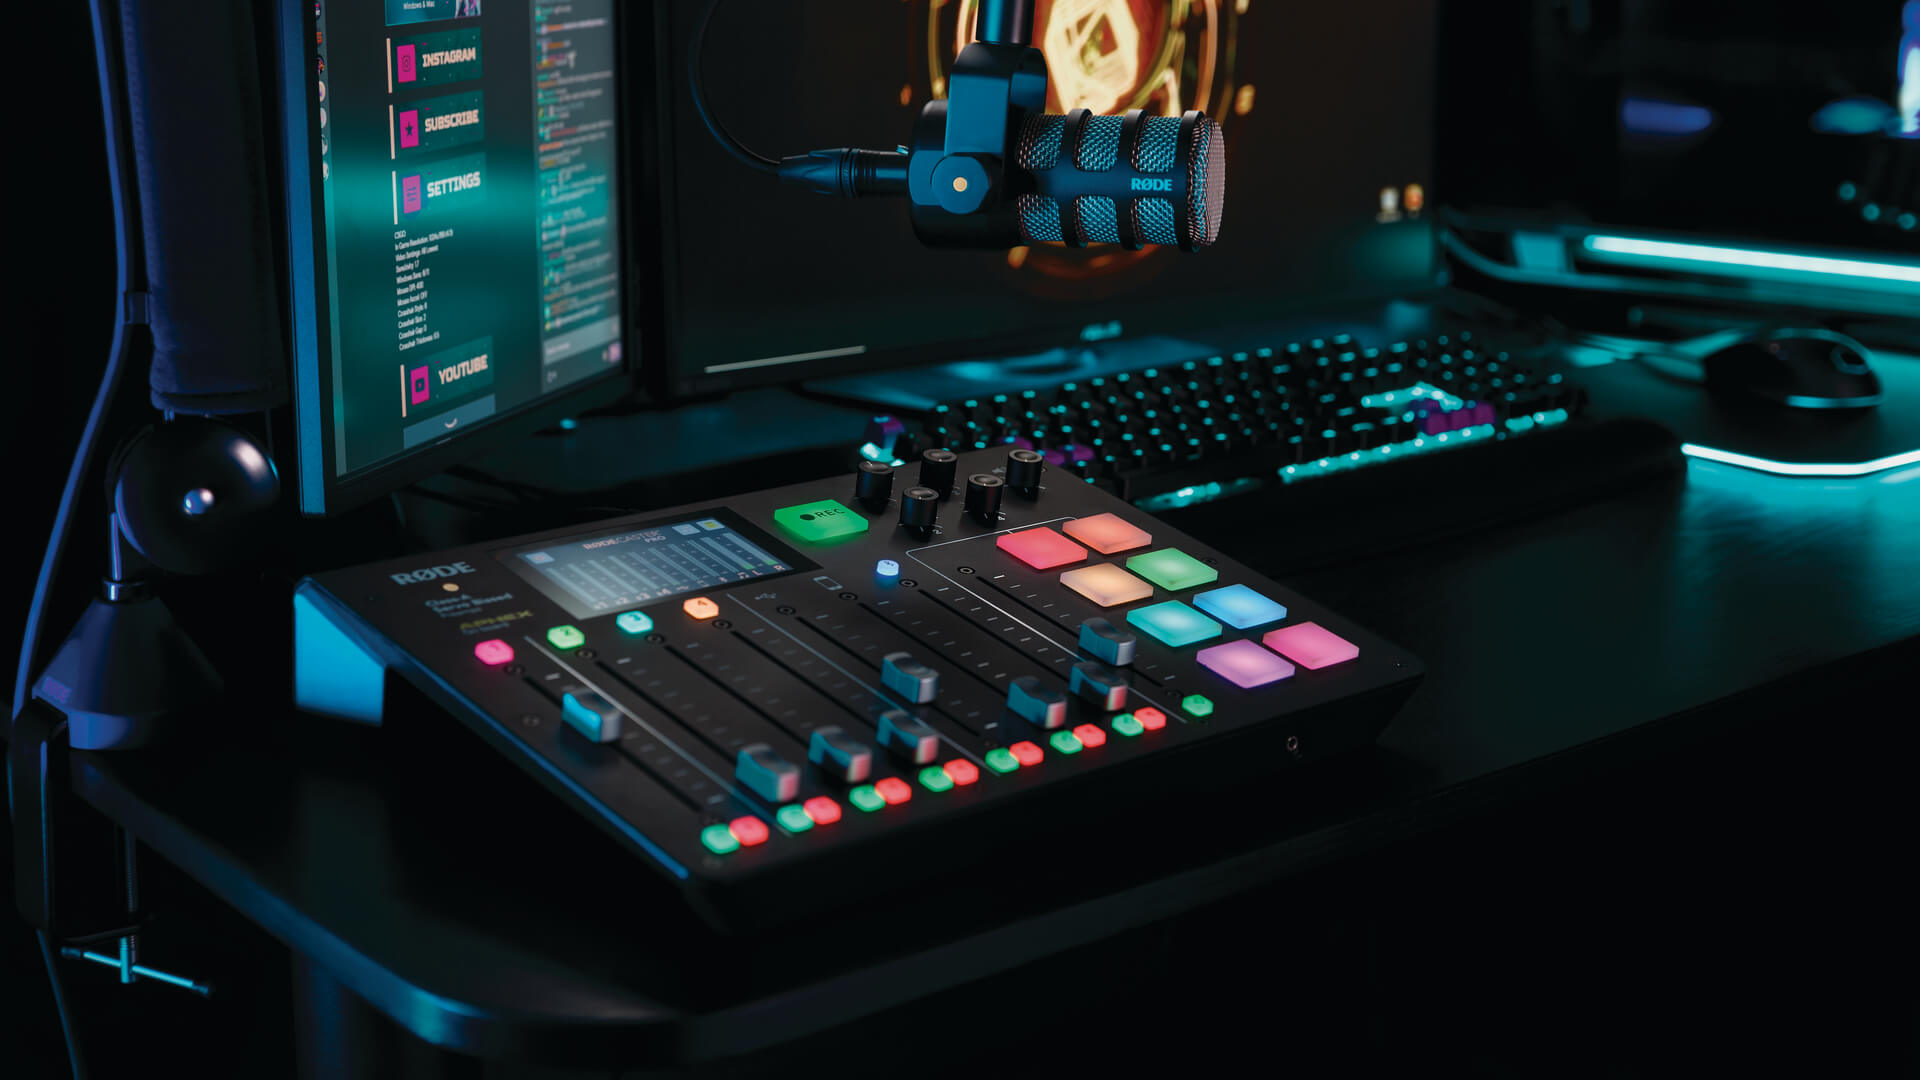
The benefit of using the RØDECaster Pro for streaming is that it’s capable of combining a variety of sound sources, whether via the microphone channels, smartphone or USB channels or sound pads. This allows for endless expansion for any content creator who needs more options while streaming.
In order to stream, you’ll likely be using software like XSplit or OBS. For the purposes of this guide, we’ll be using OBS on PC with a focus on the audio side of setting up.
Setting up the RØDECaster Pro for Livestreaming
The first thing you’ll need to do is get your RØDECaster Pro connected. If you need help with this, check out the section on getting started with the RØDECaster Pro.
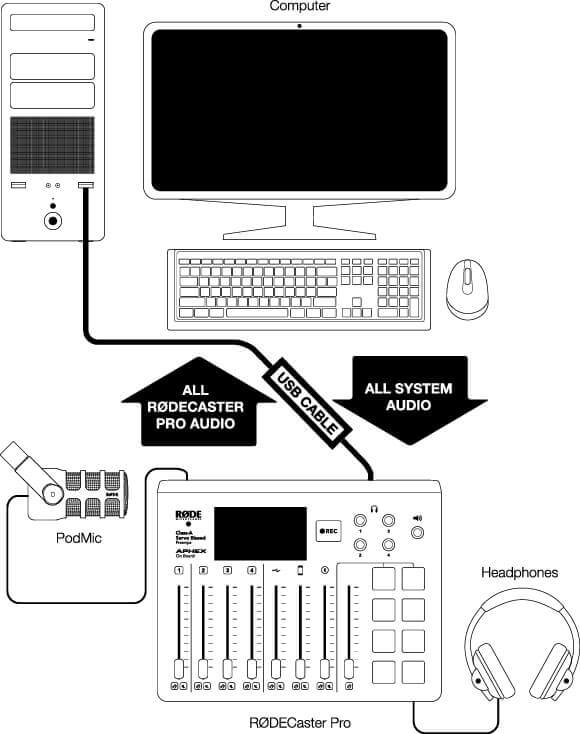
Once you’ve got your RØDECaster Pro ready, use the included USB-C to USB-A cable to connect it to a computer. Your RØDECaster Pro should instantly be recognised by the computer as an audio device.
Once connected, open the sound settings and select ‘RODECaster Pro Stereo’ as the output device and slowly turn up the USB fader on your RØDECaster Pro; you should be able to hear playback from your computer on the USB channel when playing audio from any application.
In the same sound settings menu, select ‘RODECaster Pro Stereo’ as the input device. The RØDECaster Pro is now the default device or “microphone” for the system. In the next step, we will need to route the audio from the RØDECaster Pro to your streaming software.
Pro Tip
If your computer has a USB-C input, the SC17 cable can be used to connect the RØDECaster Pro to your computer.
Setting up Streaming Software
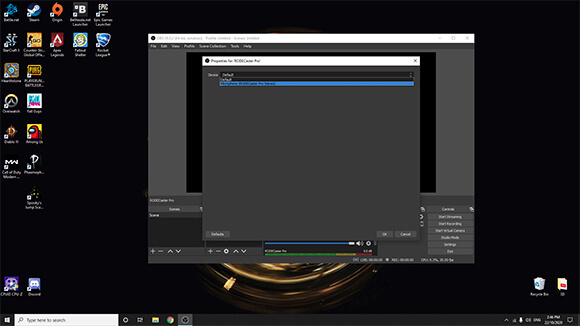
In order to send the audio from your RØDECaster Pro to OBS, open OBS, navigate to ‘Sources’ and press the + button and select ‘Audio Input Capture’.
Once selected, you can rename this newly created source as ‘RØDECaster Pro’. Press ‘OK’ and you will be prompted to select a device for this source.
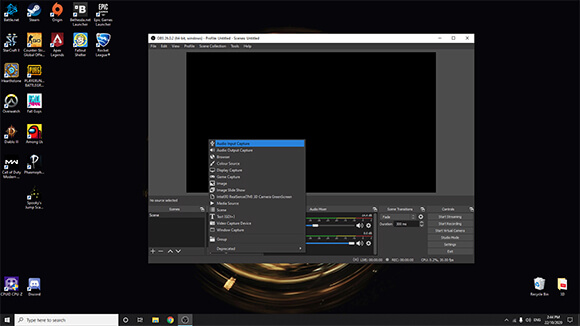
Click on the drop-down and select “(Microphones) RØDECaster Pro Stereo” as your device, then press OK. The RØDECaster Pro will now appear as a device in the audio mixer.
Once this is setup, all audio from the RØDECaster Pro will be routed to OBS, including the microphones, sound pads, smartphone channel, bluetooth channel and anything playing through the USB channel. The same works vice versa with all audio from the computer, including gameplay, music etc; this audio will be heard via the USB channel on the RØDECaster Pro.
Set up Communication Apps
External comms apps such Discord or Teamspeak are often required in livestreaming situations to chat to teammates. This is also incredibly simple to set up with the RØDECaster Pro.
Within the comms app, open the audio settings and select ‘RØDECaster Pro Stereo’ as the audio input and output device. This will enable the audio from the app to come through the USB channel on the RØDECaster Pro. It will also allow the audio from the RØDECaster Pro to be heard in the comms app.
In order to get crystal-clear communication without echo or feedback, ensure you turn on mix-minus for the USB channel. This can be activated by going to ‘Settings’ > ‘Advanced’ > ‘Audio’ > ‘Processing’ and switching on ‘USB Mix-Minus'.
Pro Tip
Once set up correctly, everything from the RØDECaster Pro can be heard within the communication app. This includes your microphones, as well as any sounds from the sound pads, phone calls, smartphone channel etc. This opens up plenty of opportunities to troll your teammates/opponents in-game!
Future-proofing Your Streaming Rig
Once your RØDECaster Pro is set up in your streaming rig, the options for expansion are endless. The same setup can be used in all sorts of scenarios, including single-person streams, all the way to the larger live podcast productions with multiple guests and sound sources.